|
1. Gather ingredients and tools. |
 |
|
FudgeFactor How to make old-fashioned cooked fudge |
|
There are many variations of fudge recipes out there - this is based on a family recipe my Mom used to make back in World War II, when sugar rationing made everyone very careful about what they used their supplies for. This is cooked fudge where the sugar melts and mixes with other ingredients, and has a different taste and texture than refrigerator fudge. This candy will keep without refrigeration for a long time. (IMPORTANT NOTE: I have a gas stove which allows greater control of the heat. If you are using an electric stove, adjust your cooking time as required - probably add a couple of minutes - and make sure to remove the pot from the heat source once the fudge has cooked long enough.)
|
Ingredients Small batch (double ingredients for 9.5"x13.5" pan)
|
Tools
|
|
1. Gather ingredients and tools. |
|
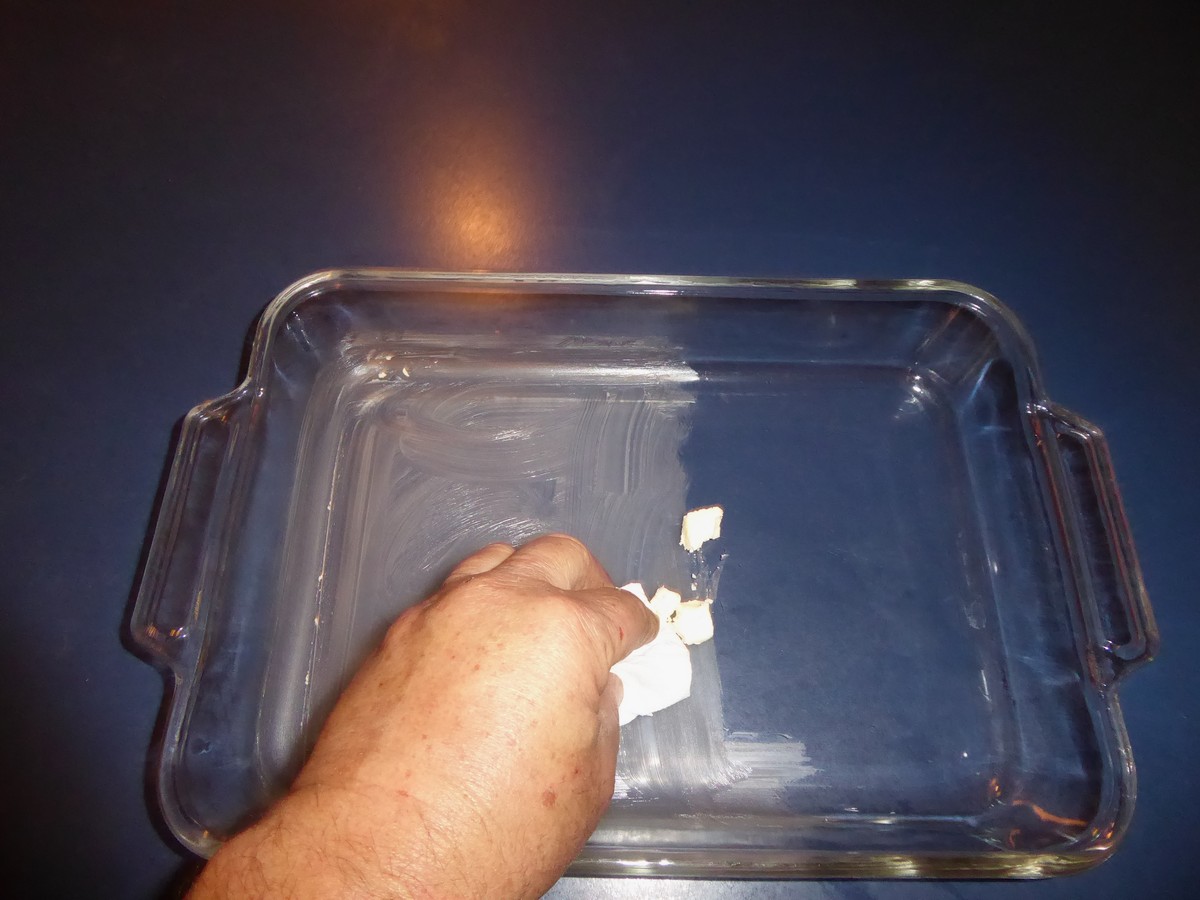
| 2. Butter a flat glass pan and set aside. (Butter melts and serves as a release agent for the cooled fudge after it sets.) |
 |
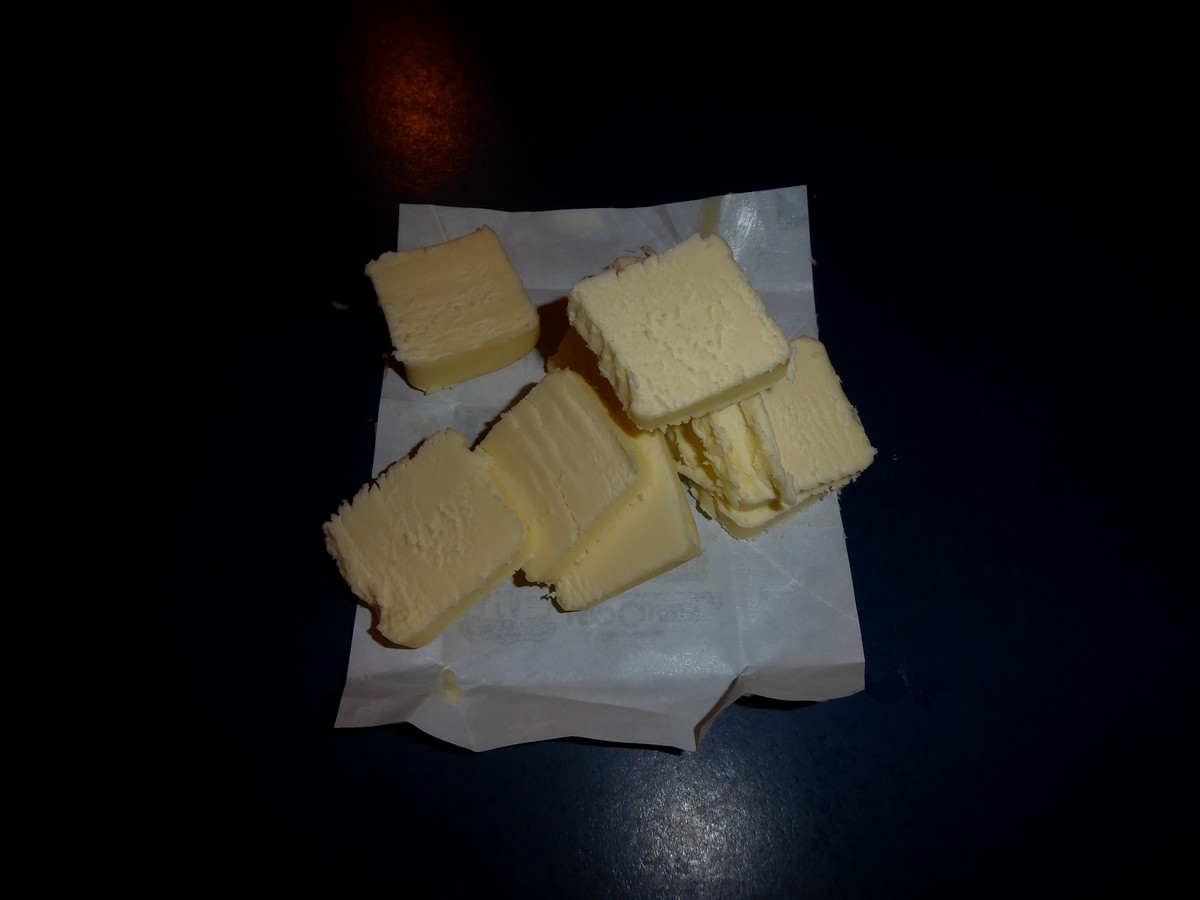
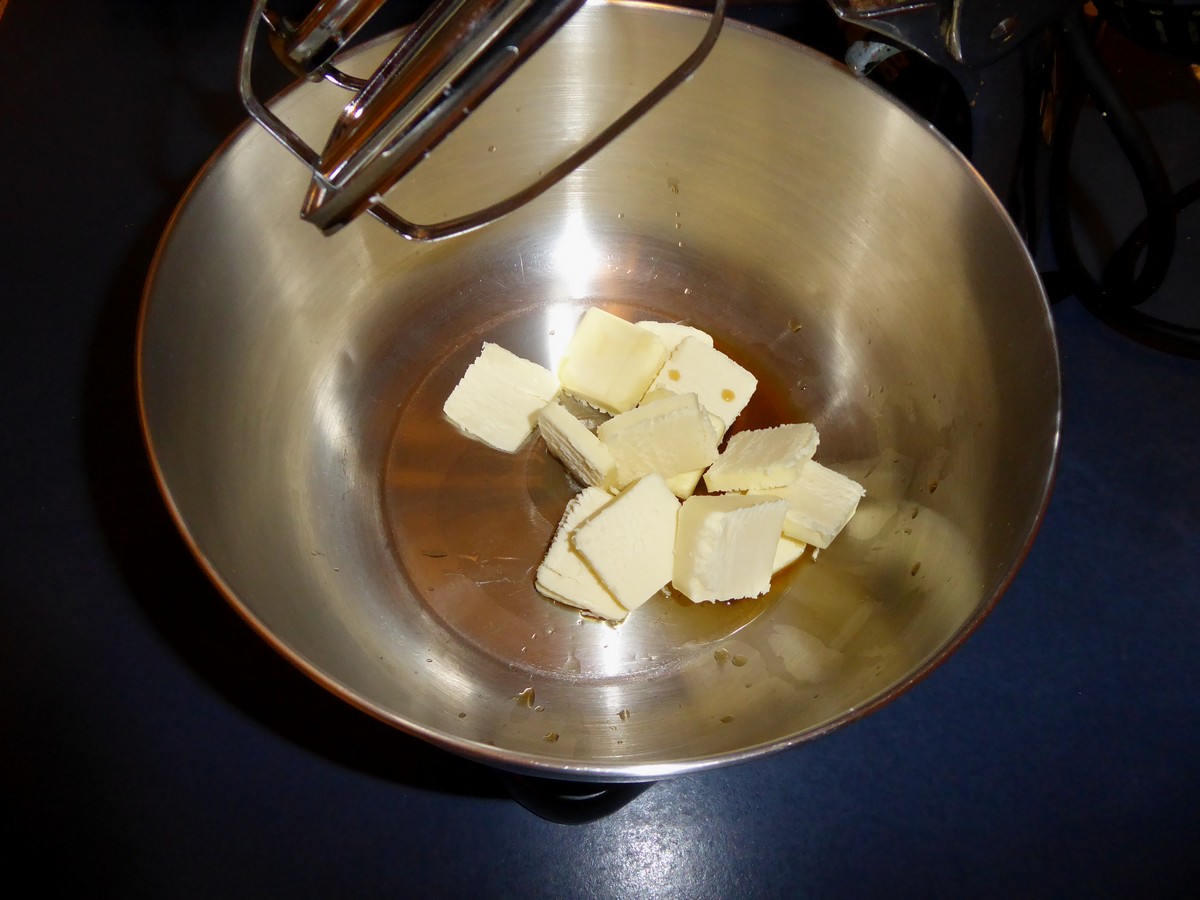
| 3. Slice butter into small sections. (Not required, but butter melts faster) |
 |
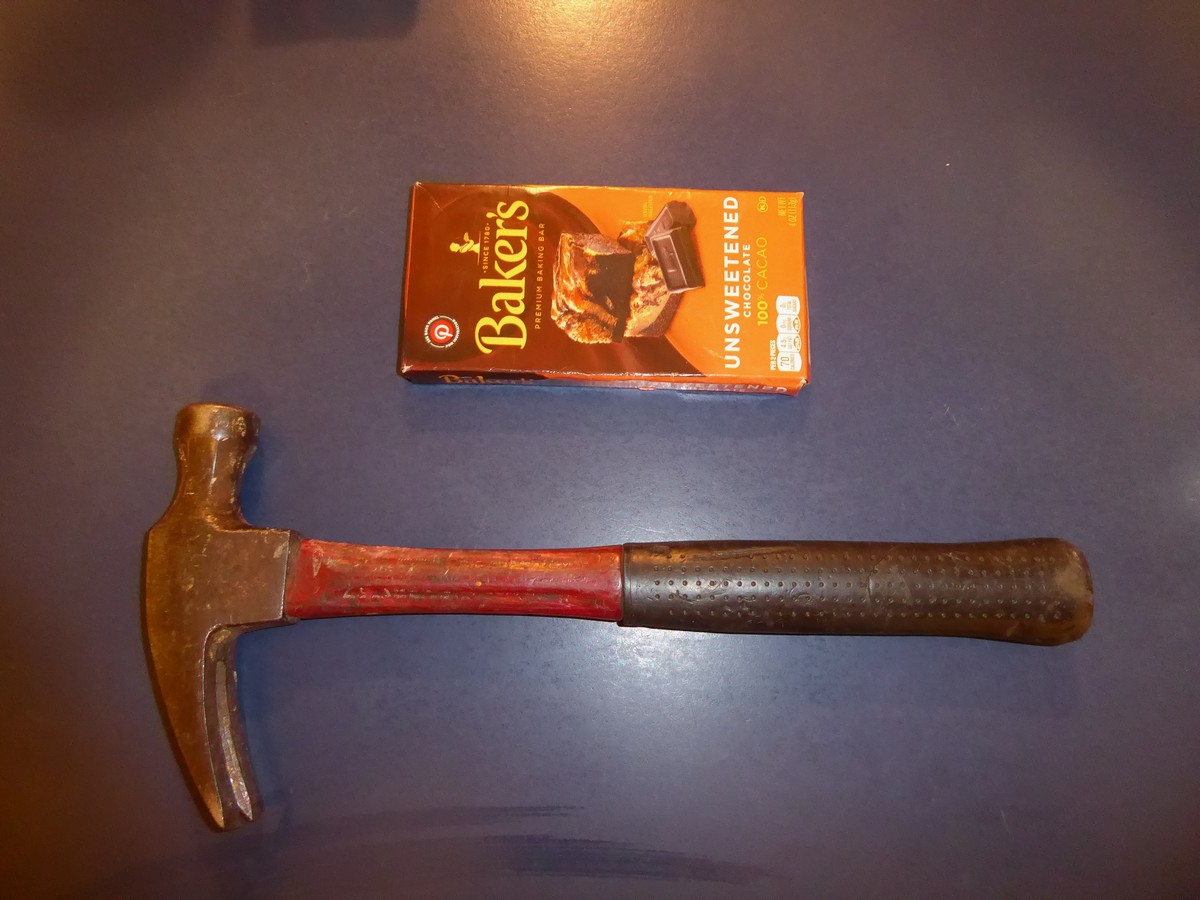
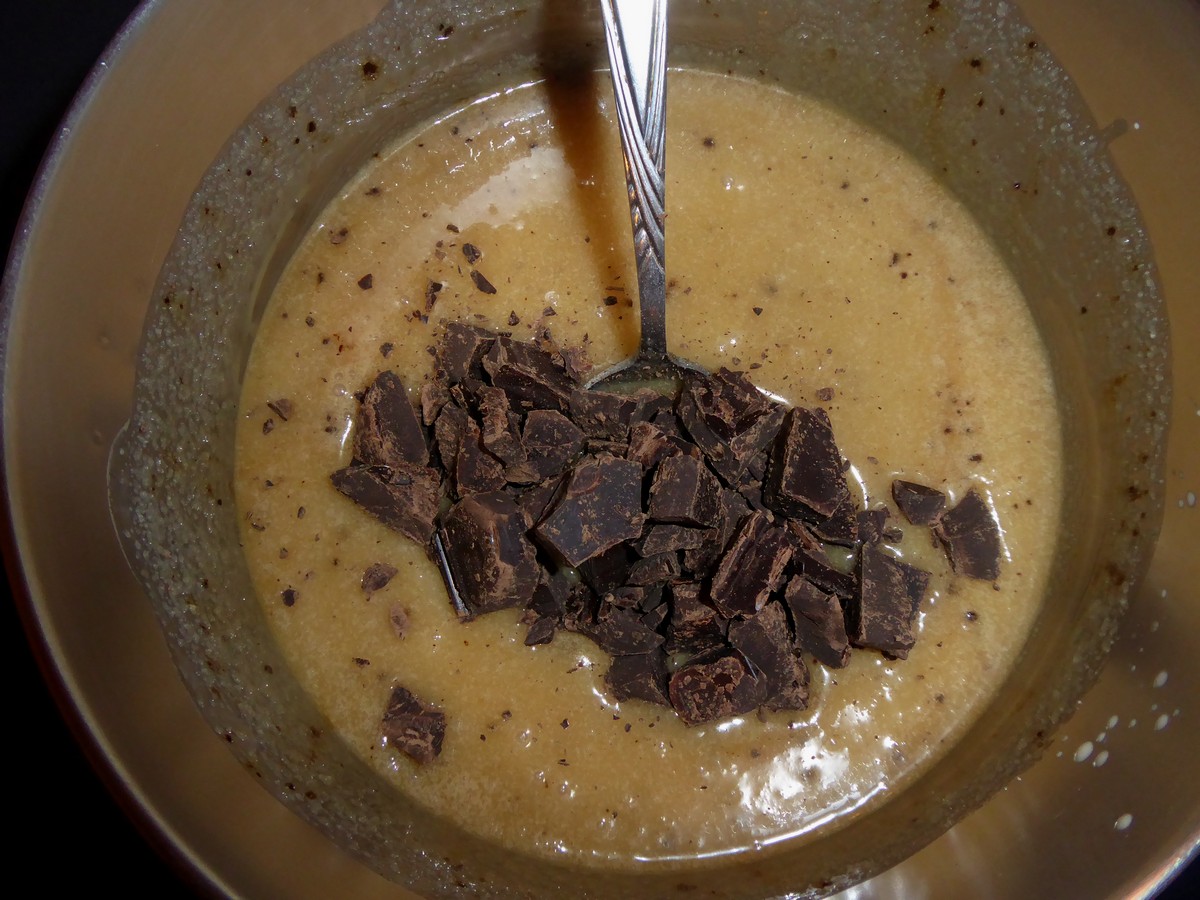
| 4. Break up chocolate into small sections. (Again, makes the chocolate melt faster. I use a hammer to smash the chocolate while it is still in the box and wrapped.) |
 |
|
 |
 |
| 6. Heat over medium flame/heat until boiling, stirring occasionally. NOTE - you want the mixture to come to full, rolling boil. (Click here for video) |
 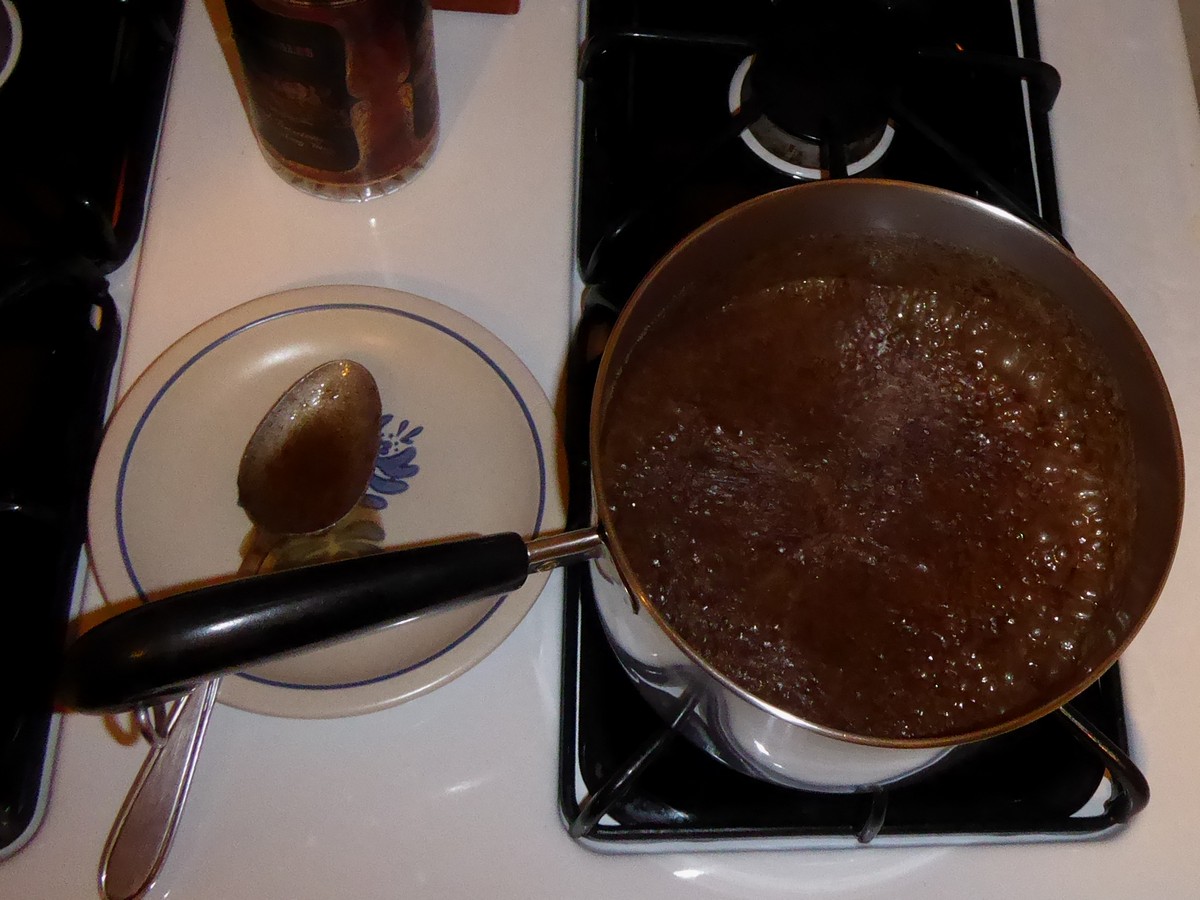 |
| 7. Allow to boil for 5 minutes, then test in cold water: Drop small amount into cold water and see if mixture ‘candies’ – gets firm and doesn’t have ‘smoke’ in the water from dissolving mixture. Depending on heat, this can take 5-8 minutes. (Click here for video) |
 |
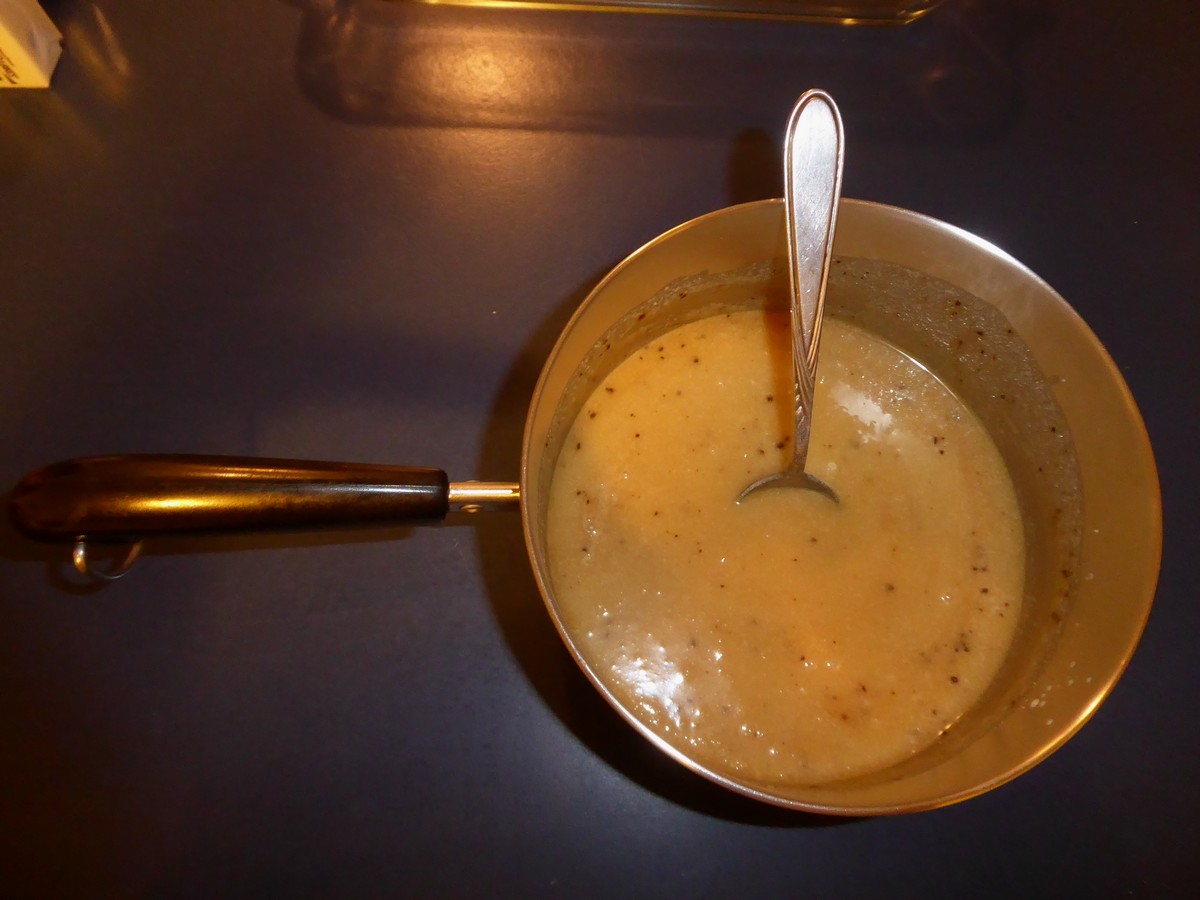
| 8. AFTER mixture has candied, IMMEDIATELY add butter and 1 teaspoon of vanilla. (NOTE - If using a stand mixer with a separate bowl, you can put the butter and vanilla in the bowl and pour the hot mixture in. Otherwise, add the butter and vanilla directly to the saucepan. Start mixing by hand with a stiff spoon (wooden or strong metal) or use a mixer. Make sure to get the outer edges scraped in. MIX for about one minute, or until the mixture starts to thicken. This part can be a little tricky – do not mix too long or the fudge will set and be hard to pour. (Click here for video.) |
 |
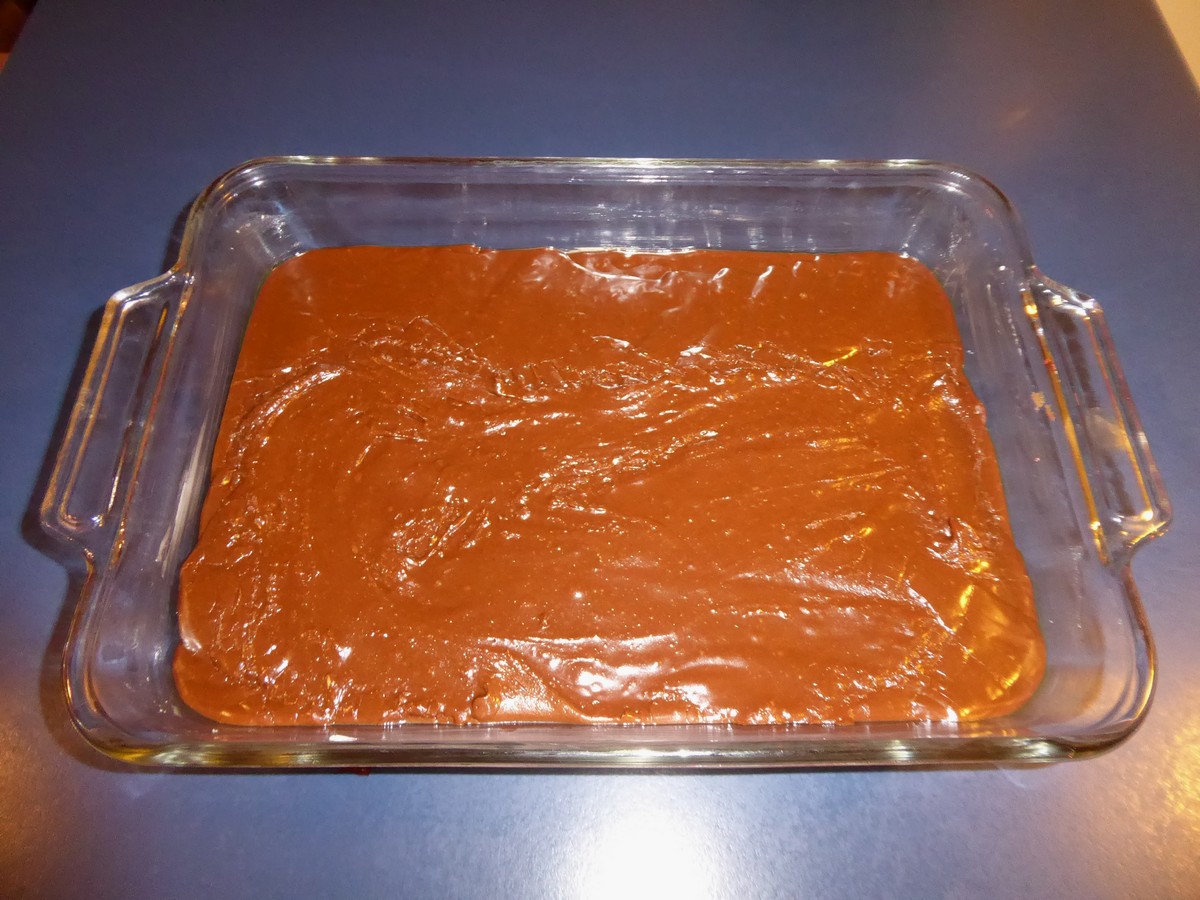
| 9. Pour the fudge into the glass pan – it should spread evenly and have a glossy surface. |
 |
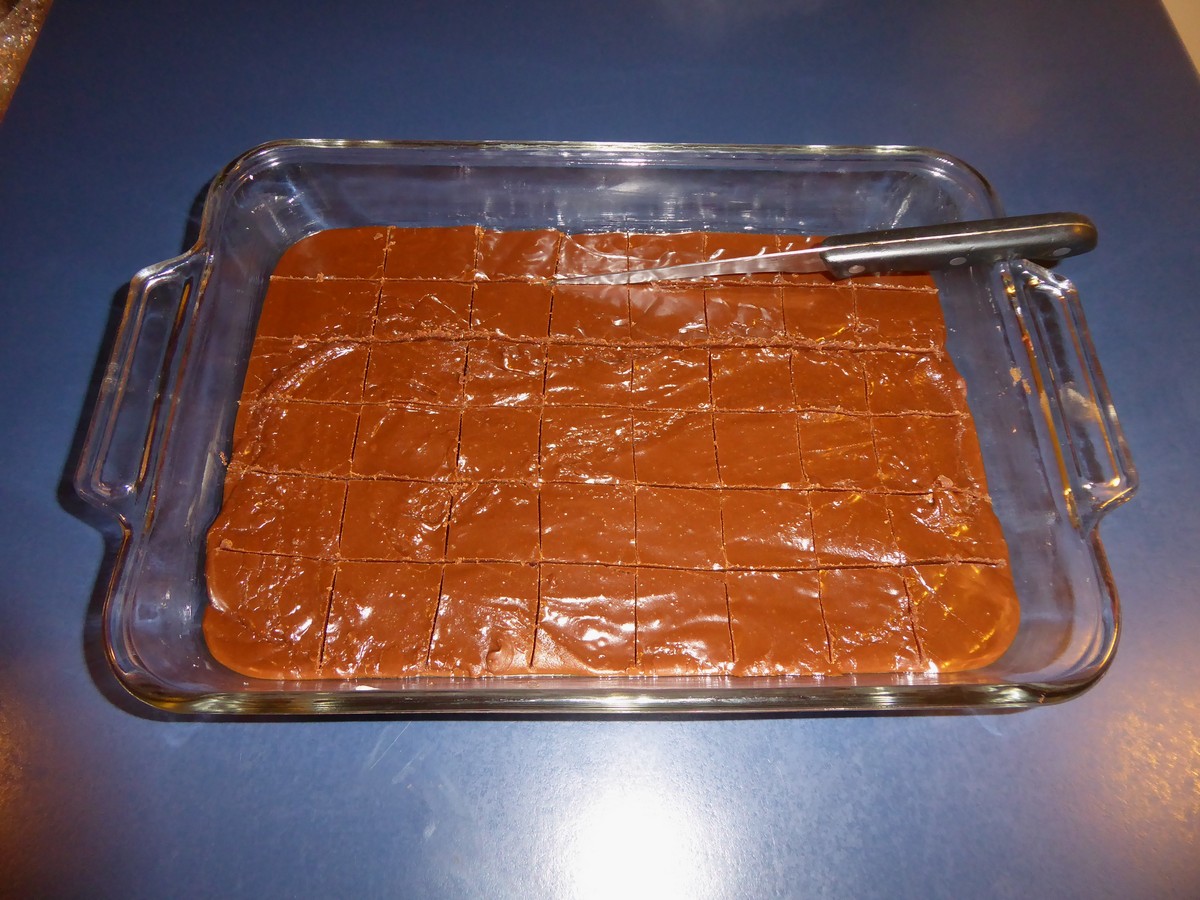
| 10. Allow to set for about 15 minutes, then score the pieces into the top with a sharp knife. This helps prevent the top surface from cracking when you make the actual cuts, and also provides a guide. |
 |
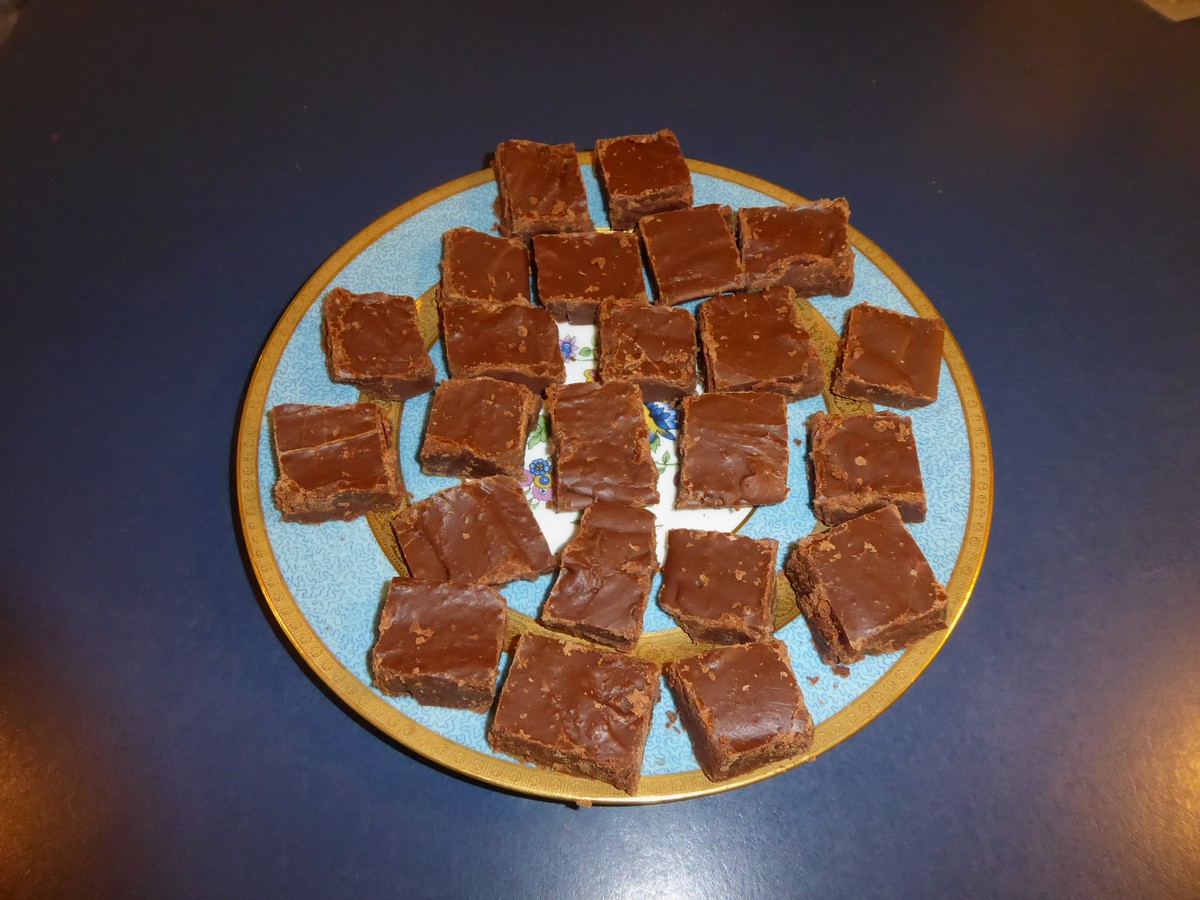
| 11. Allow to cool for an hour, then cut the fudge into pieces and remove from the pan, placing the pieces on the plate to finish setting. |
 |